
Page Contents
Install a Free SSL Certificate in WordPress
When we talk about Internet security, one of the key concepts is SSL certificates.
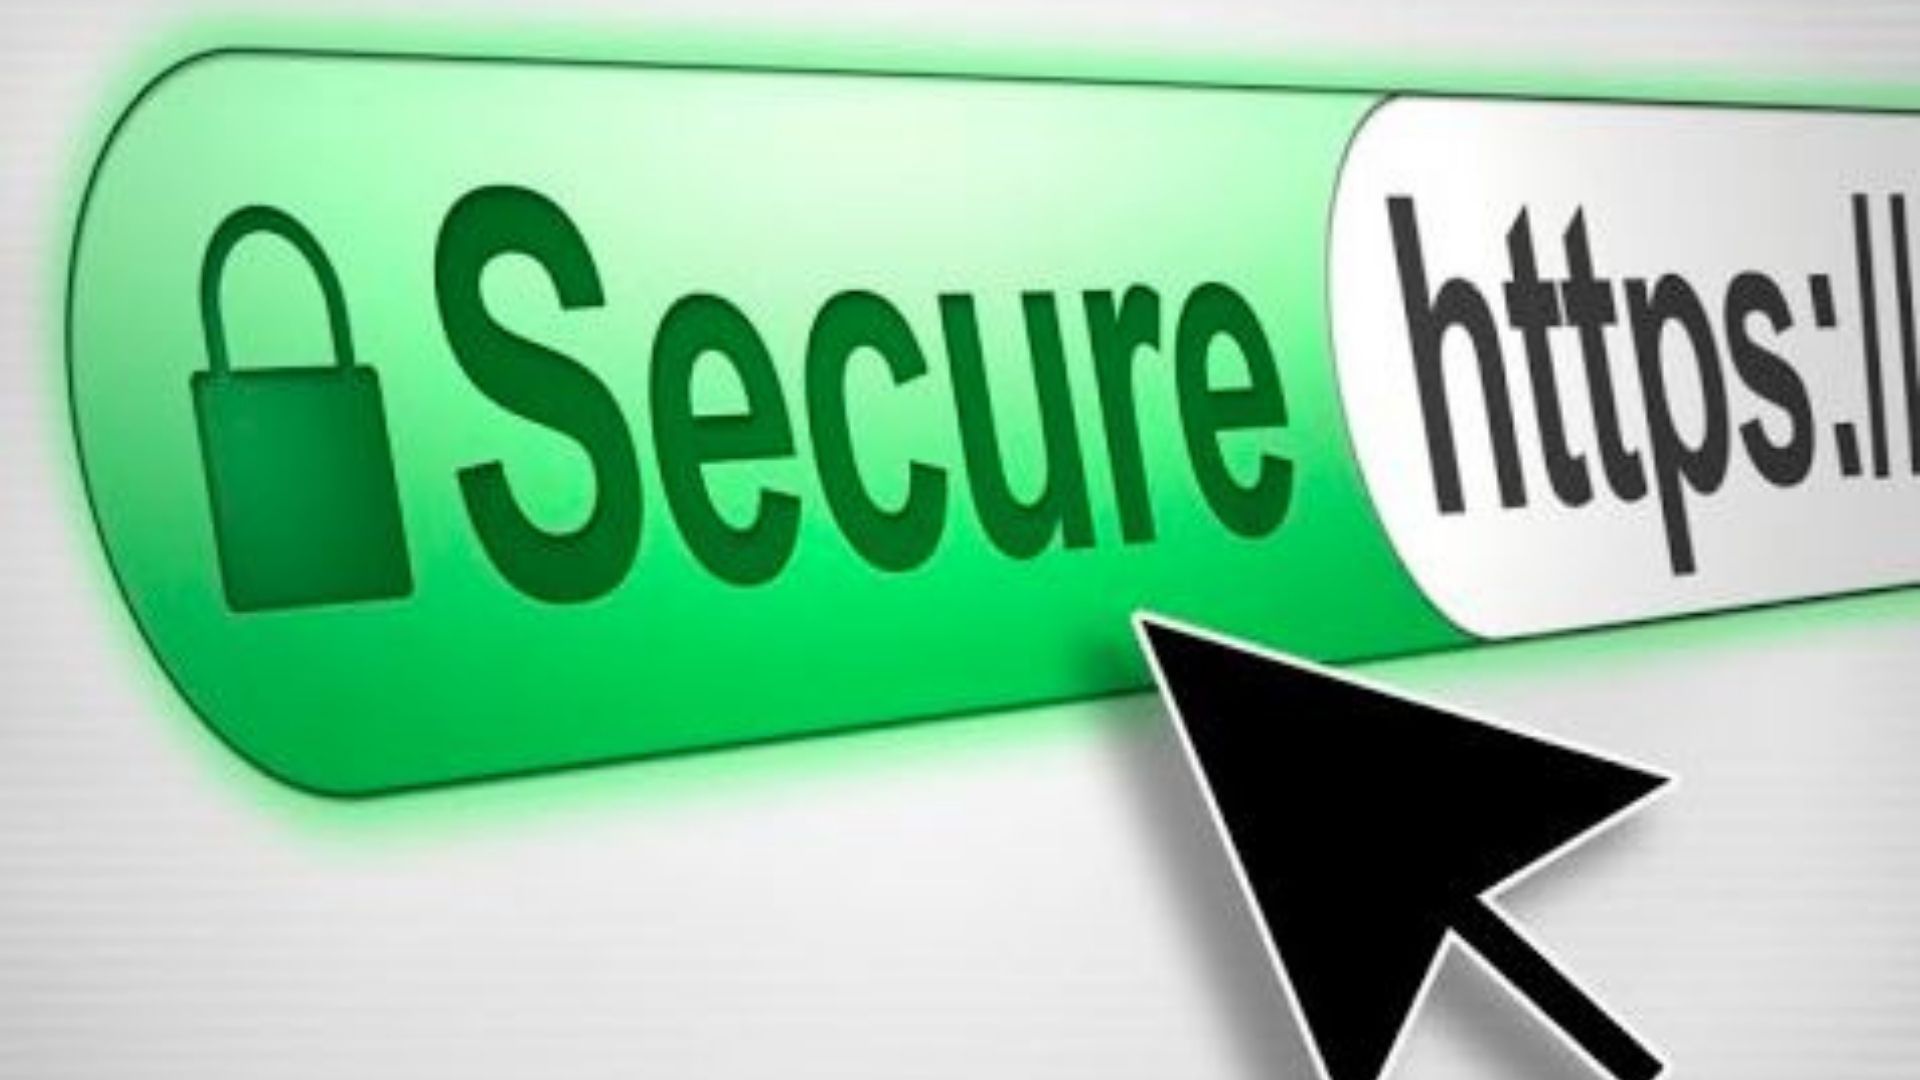
Where you will always find SSL certificates is in places that are especially sensitive to security: online banking, online stores, electronic offices of the Public Administration, etc. You can recognize them by the little padlock that appears in the web address, along with an HTTPS connection instead of a normal HTTP connection.
These certificates have been something practically 100% foreign to the world of blogs and WordPress. However, if you have been attentive, you will have seen that this is radically changing in recent months.
There are more and more “normal” blogs where you can see the little lock, and I assure you that it is not by chance. You should also install an SSL certificate when before on your site because there are very strong reasons for you to do so.
Also, luckily and unlike in the past, now you can do it 100% free and in 5 minutes.
In this post, I will explain what those compelling reasons are and I will guide you step by step in the installation of a free SSL certificate.
What is an SSL certificate and what is it for?
The acronym SSL stands for (Secure Socket Layer) in English, a security protocol on the Internet that makes your data travel in an encrypted and thus secure way between the server and the web user.
Make information transmissions secure
The key concept here is encryption. “Encrypt” means to transform information to make it unreadable, except for the two extremes that are communicated, so that if someone intercepts that information, it will be of no use to them.
Translated to current times and WordPress specifically, it means, for example, that when you access the WordPress administration screen to authenticate with your username and password, if someone “clicks” your network (an insecure Wi-Fi network, for example) In principle you can see your username and password since both things travel as is between your computer and your server.
However, if your WordPress site had an SSL certificate installed, as soon as you connect to your WordPress website, your computer and the server will agree to encrypt that information. If a third party “taps” your network again in this scenario, they would only see junk information that would be of no use to them.
Therefore, you will not see any serious site worth its salt and that handles sensitive information without an SSL certificate.
Have you never seen an online bank without the “lock” in the browser when you access the login screen with a username and password?
Imagine what would happen if the bank customers’ usernames and passwords were exposed to being hacked as described a little above, the one that would be mounted.
Identify a website as a trustworthy site
A second, much less well-known, but equally important feature is that the SSL certificate makes the site much more reliable.
Why?
Because an SSL certificate is not achieved just like that. It is issued by a certification authority and that implies that the certificate holder has to prove his identity to her, the authority knows who that person or that company is.
Therefore, a site with a certificate is no longer a simple anonymous site where the user cannot trace the origin, but through the certificate (by clicking on the padlock and exploring the information that the certificate shows) he will be able to see who it is. the owner of that site.
Within this there are different levels of information and guarantees that I do not want to detail here because it is beyond the scope of this post, simply keep that it adds important security plus in this regard.
6 Reasons to use an SSL certificate
With the above it is clear that an SSL certificate is a good thing for your readers, but what benefits does it bring you?
1. Google will reward you, for sure
Let’s start with what is possibly the most important thing for you: SSL certificates are a quality signal and, therefore, Google logically like them.
And indeed, if you investigate the network a little, you will see in posts like this one that effectively the use of SSL certificates improves the Google ranking of your site.
As always in the case of Google and its search algorithm, there is some speculation in this statement, but apart from the indications compiled by the experts in the field, it seems in itself a logical and common sense that Google takes it into account positively.
But what is more, the idea is that in the medium term all sites use secure connections and HTTP / 2 and, as the implementation of these certificates is seen, this will happen sooner rather than later. Just look at the wave of sites that have switched to HTTPS in recent months, including ours.
At that point, a normal HTTP site will be a technologically outdated and insecure site. And that also seems clear that it will be a negative signal for Google that will cause you to gravitate down the search rankings.
2. You will have great confidence with your readers
On the other hand, people have learned that the green padlock in the browser is a good thing. Therefore, it is a subjective factor of added trust, a factor that will do your site well, at least for the trustworthiness of your brand.
3. You add a significant degree of security to your site
Earlier I mentioned the example of the login in WordPress with and without a certificate. It is a very important point, just with this example, an SSL certificate is justified. But, in addition, the confidentiality of all other interactions with your website such as writing to your contact form and similar things will also be protected.
4. You will be prepared for the future: HTTP / 2
Another little-known issue is the new version of the protocol, HTTP / 2, which substantially improves the current version, HTTP / 1.1, among other things, in speed.
HTTP / 2 is already operational on many hosts and supported by all top-tier browsers, but it requires the use of SSL certificates.
5. It will take only 5 minutes
Installing an SSL certificate like the free one that I’m going to talk about here is a process of 5 minutes or even less. Of course, it is only if you are with a good hosting provider such as Hostinger, for example, which has simple installation tools.
6. It’s free. Why do not use it?
Until recently, having an SSL certificate meant spending money each year, depending on the type of certificate, they could exceed $100 per year.
But this changed radically with the emergence of Let’s Encrypt, a certificate authority launched on April 12, 2016, that provides free X.509 certificates for Transport Layer Security (TLS) encryption through a process automated designed to eliminate the complex current process of manual creation, validation, signing, installation and renewal of secure website certificates.
Let’s Encrypt belongs to the Linux Foundation and distributes its certificates completely free of charge and that, together with the ease of automating their management, has made it easier for hosting providers (the good ones, of course…) to offer free SSL certificates.
This means that in practice:
- Its installation is trivial, little more than a button click in the control panel of your hosting.
- They are automatically renewed, you forget about this issue.
- They have no cost to you.
Therefore, being something beneficial and that does not cost any effort, what reason is there not to do it?
How to Install a Free SSL Certificate in Simple Steps
Step 1: Make sure your hosting supports Let’s Encrypt certificates
The first step is very simple, make sure your provider supports this type of certificate.
If you don’t see it clearly, just go to support. They have to tell you and if they do not clarify it properly, you already have a good reason to start thinking about changing your hosting in the medium term
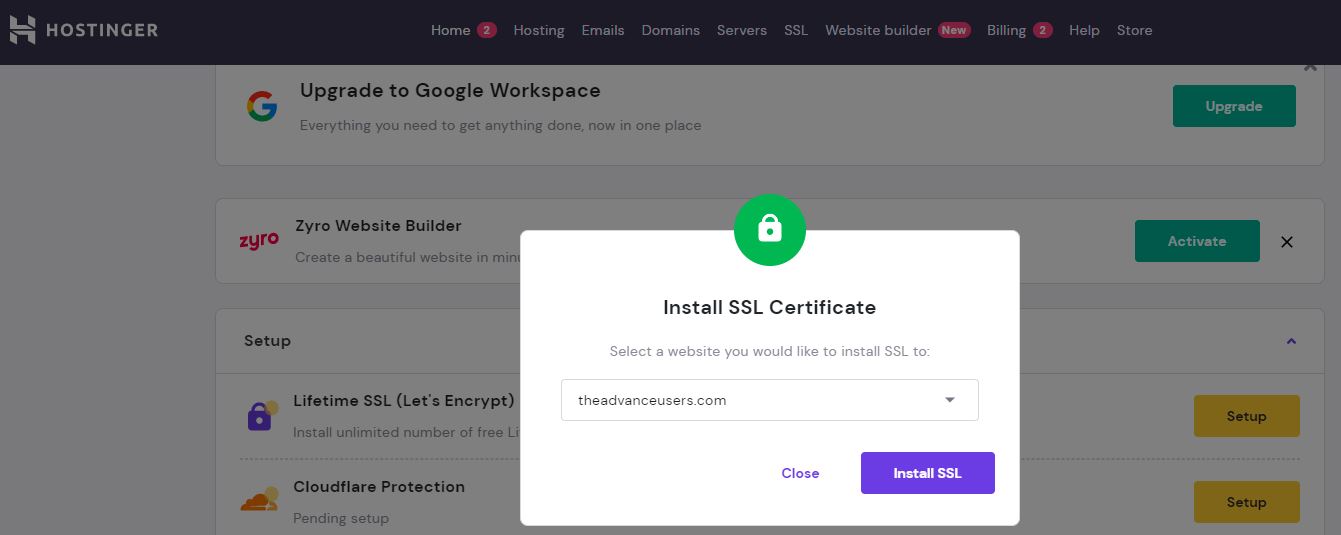
Step 2: Activate the certificate in your hosting
If the provider has done things well, you will have a very simple way to activate the certificate, being able to differentiate, in addition, for which domains to activate it and for which not.
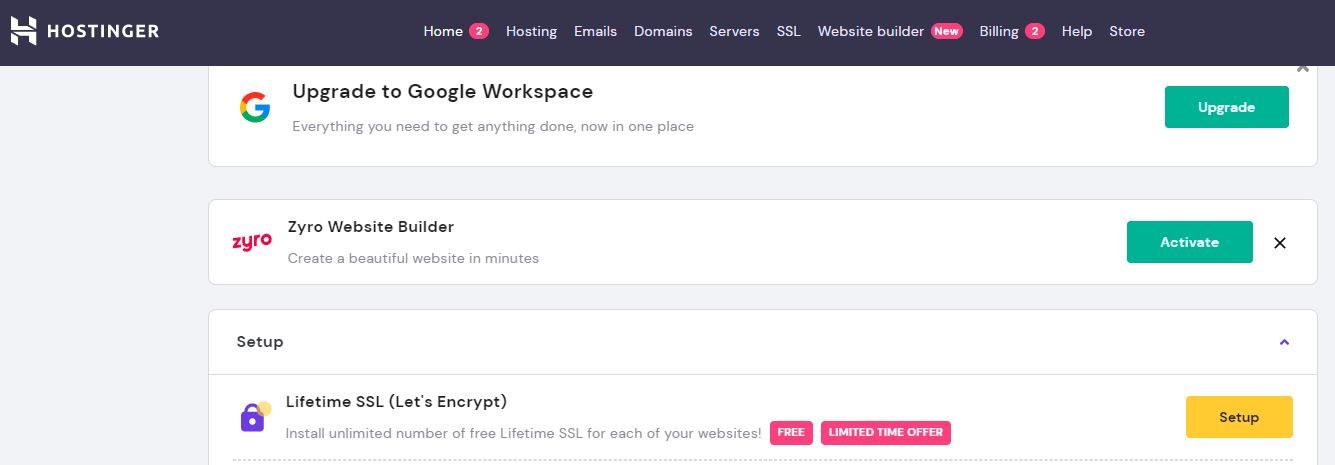
The graphical interface will vary depending on the provider you use, in the case of the provider of this blog, Hostinger, within the tools, there is a very simple wizard that allows you to activate the certificate with a single click:
Step 3: Prepare your site
Next, it’s time to adjust your website.
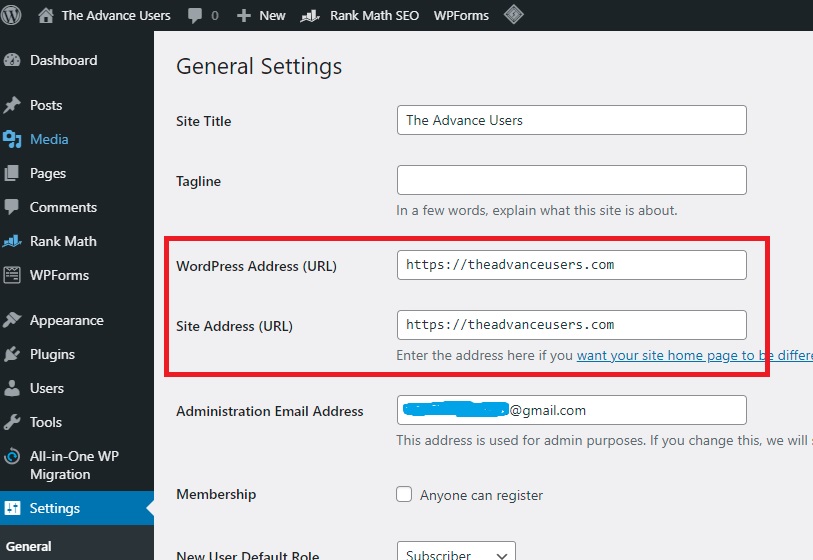
WordPress settings
We start with WordPress itself, here we have to adjust in Settings / General settings the parameters that you see highlighted in the following screenshot:
Step 4: Update the Google Search Console
As soon as you make the change, one of your priorities has to be making sure that Google sees the site as it should, which translates into configuring it correctly in the Google Search Console, which was previously Google Webmaster Tools.
Add the HTTPS version of the site
First of all, you have to tell Google that your site now uses secure HTTPS connections. And here I have been somewhat surprised by the philosophy of how Google conceives that this should be done: instead of modifying the existing configuration of your sites simply indicating that the HTTP addresses go to HTTPS, Google forces you to register a second version of the site.
It’s weird, but that’s how it works. In other words, in terms of the Search Console, you have to add a new property with the “Add a property” button, exactly as you did for the HTTP version, but this time with the HTTPS address.
Resubmit the sitemap
The second question is that it is convenient to send the sitemap of your site (map of URLs of your site), as you will have done, with the previous site. This way you make sure that the URLs will be indexed as soon as possible:
If you don’t have a sitemap yet, you can use a plugin like Yoast SEO, for example, which automatically generates it for you. From there, it is as simple as indicating in the box that can be seen in the upper capture the URL of the sitemap (which will be indicated by Yoast SEO).
Conclusions
Although in the end, this tutorial has been put into more than 1,500 words, migrating a site from HTTP to HTTPS is a very simple process, very fast, and very convenient.