Page Contents
How to Create a Blog on Blogger (Blogspot)
Blogger is a platform to create free blogs in a super fast and easy way and that, you can also customize it to your liking. If you have always wanted to tell the world about your knowledge, ideas, travel, or anything else, you can start today.
The steps you have to take are quite simple and by following this tutorial you will not have any problem.
Let’s start with the simplest of all, create a Blogger account, until we reach the complete customization of the website.
Also Read: How to Build a Website: Step-by-Step Guide in 2022
First Steps to Create a Blogger Account
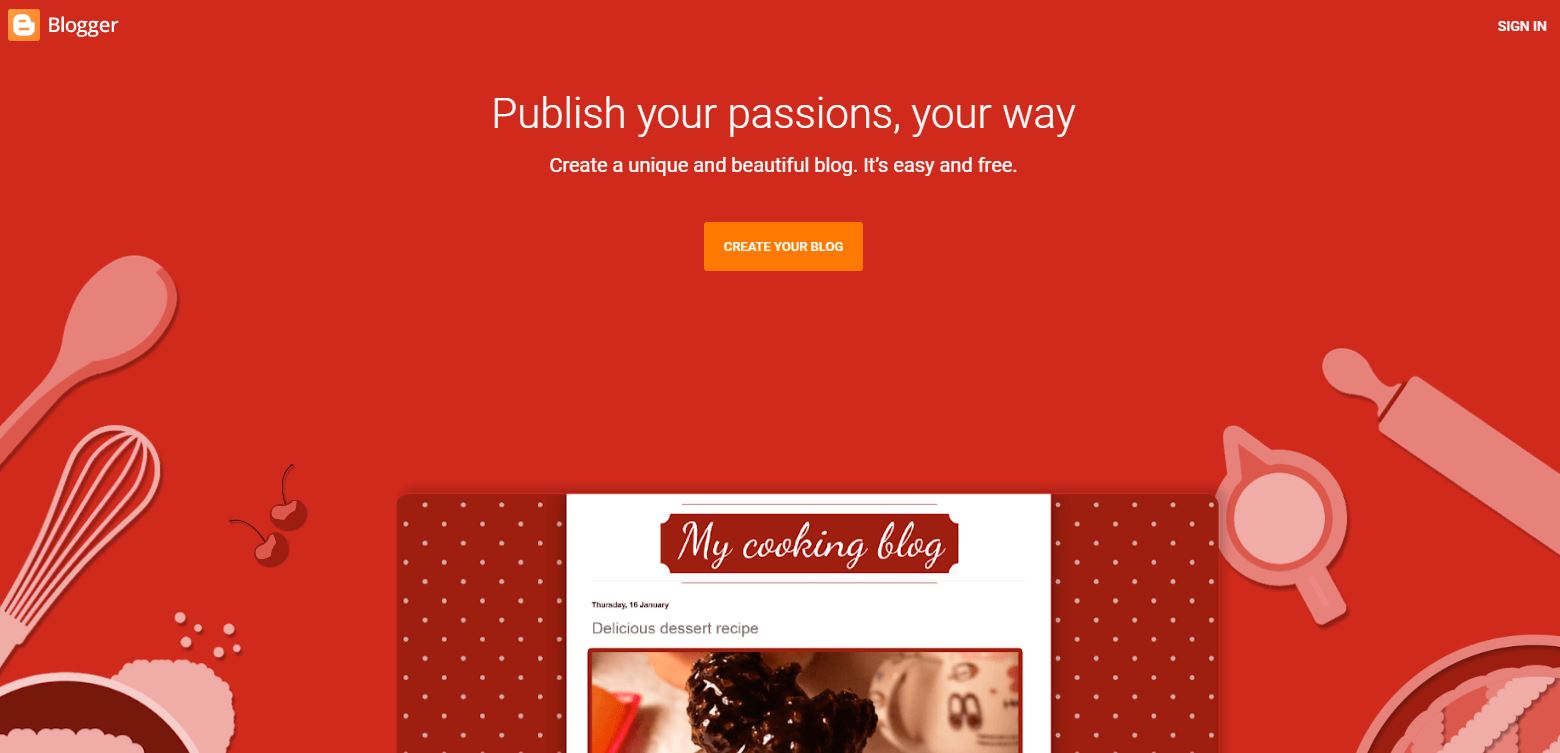
The first thing you should do is go to the main Blogger page.
In this window, we find, at the top right, a ” Start Session ” button. When you have created your account, you must access it from here, but in the meantime click on the ” Create your blog ” button.
Now, Google is going to take you to the typical window of when you want to log into a platform, and that is that Blogger is part of Google, so the account you create to get into Blogger has to be a Gmail.
You have two options, create a new account only for your blog, or use the one you already have and use regularly.
Whichever option you have chosen, you will arrive at this window, in which you have to choose the visible name of your website. This name is what users will see when they see your blog, so it is quite an important name.
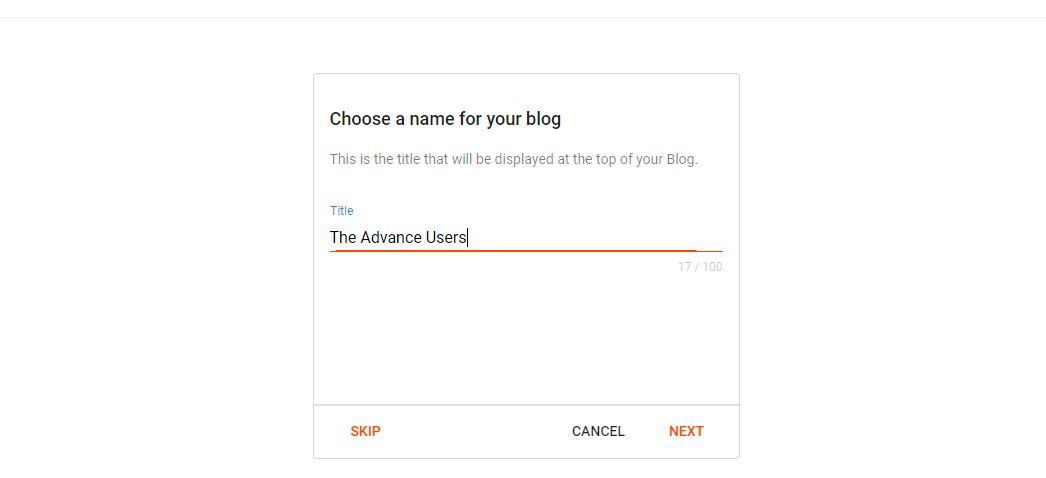
If you have not yet decided on the name of your website, it is better to leave it for later and think better of it. During the tutorial, we will see how we can modify it later.
In the example, you see in the photo I have put a test one for the demonstration. Click ” Continue ” to go to the next window.
Now, you are going to get to the section where you have to choose the URL of our blog. This is the main address of our website.
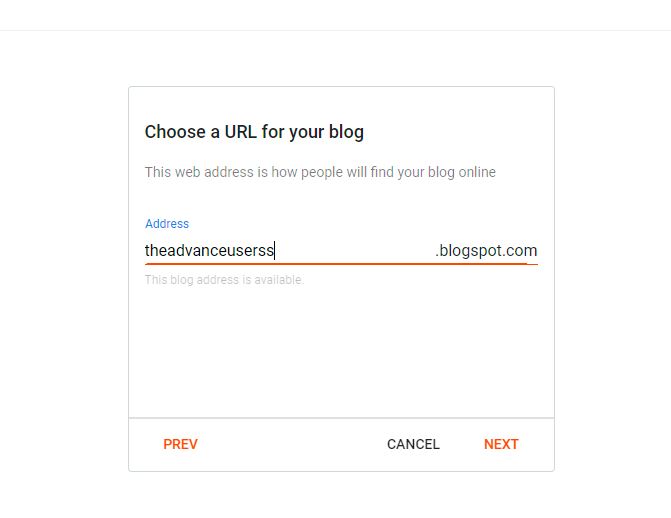
It is quite difficult to find an address that is not caught the first time, so this job will surely take you a long time.
This is also a very important choice because all users are going to see it, so I recommend that the URL does not contain strange names or many numbers in a row because it is a bit ugly.
Finally, we have to choose the name of our blog. This is the title that the cover will have and, don’t worry, because you can also modify it later.
Create a Blog in Blogger Step by Step
And finally! You now access the main page of your blog. Here you see how on the left there is a side menu with the different sections that Blogger has, and on the right, the main screen where you will see the content of each section.
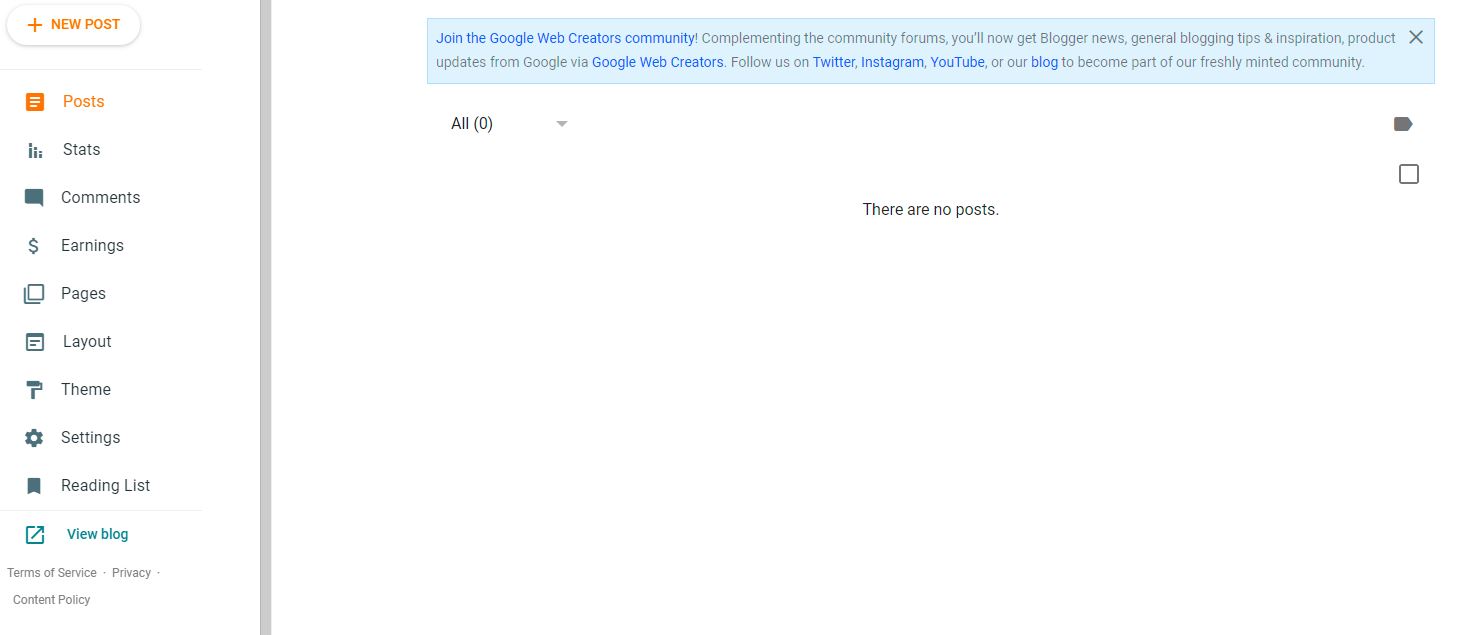
Let’s start by understanding each of the sections. The posts section is where we are going to create a post.
The difference between a post and a page is that the latter is the one that gives the structure to your websites, such as the home page, the contact page, or the services page, while the posts are the articles in the section from the blog.
Don’t worry, although it seems quite complicated now, as you do it it will be much easier to understand.
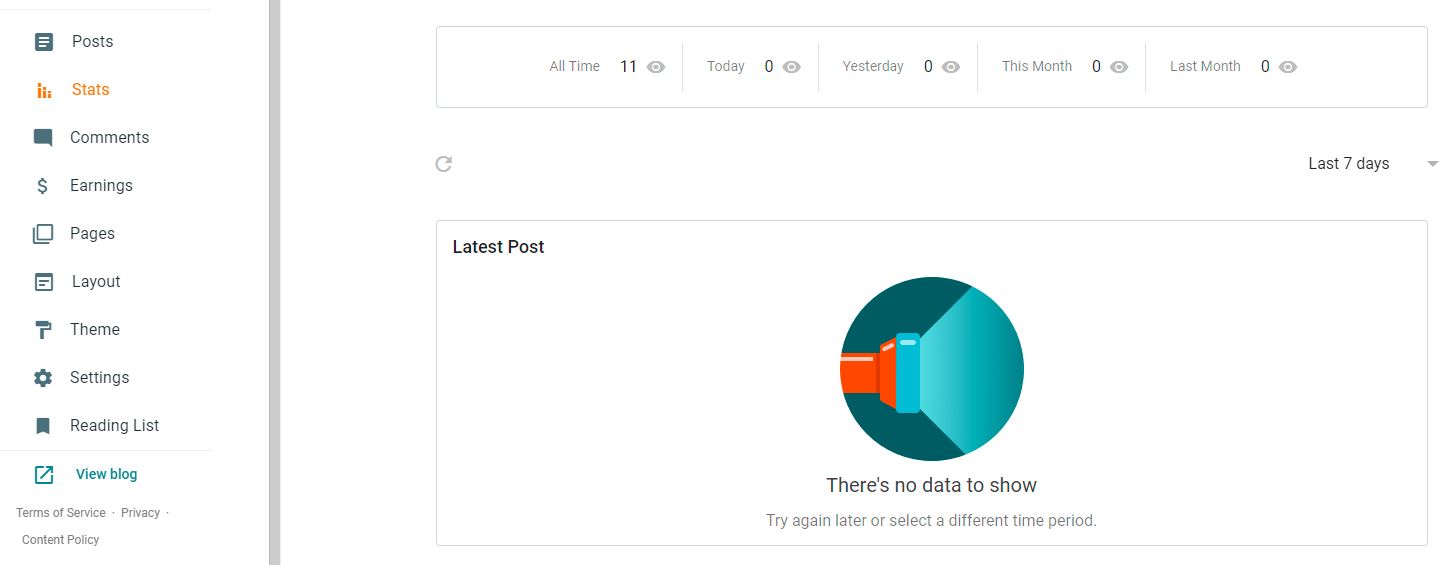
The next section, stats, is where we are going to see the data of our website, for example, the weekly monthly, or annual visits; or even the visits of each post.
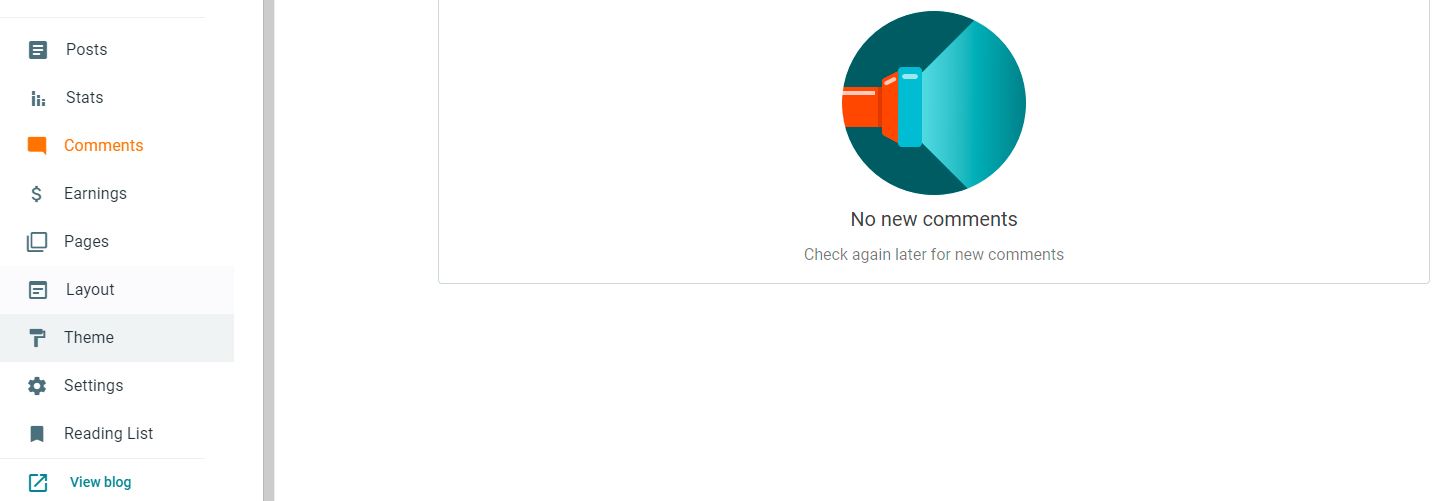
The next section is the comments section where we are going to see all the comments, and we can filter them or modify them.
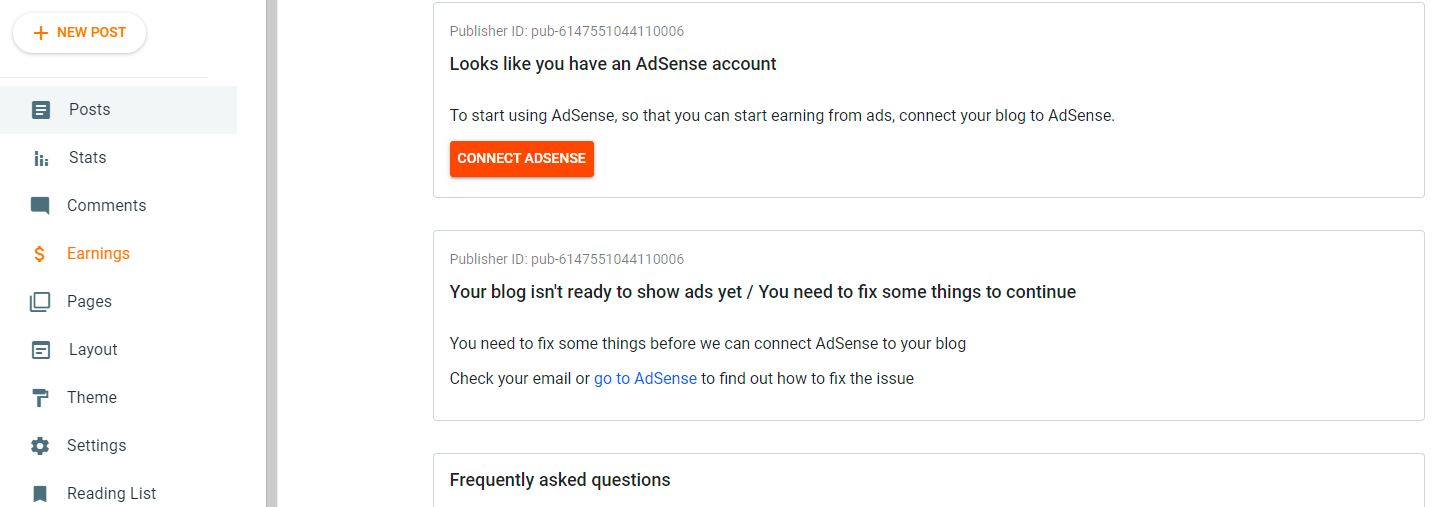
In Earnings, we will not always have to look at it, because that is where the income is reflected in the case of having an AdSense account.
The following windows, layout, and theme, we will go deeper later, since they are in charge of shaping our blog, in the layout tab, the architecture of the web is established.
In the configuration, as you might suppose, is where you will find the general settings of your blog, such as being able to edit the title, the type of privacy, or the permissions. In order not to lengthen us excessively, it is better that you take a look.

How to Create a New Blogger Post
Now that you know all the sections of this platform, it is time to get down to work with building your website with Blogger. In this section, you will learn how to create a new post.
The first thing you have to do is go to the entries section and click on the ” Create new post ” button, which is on the top left.
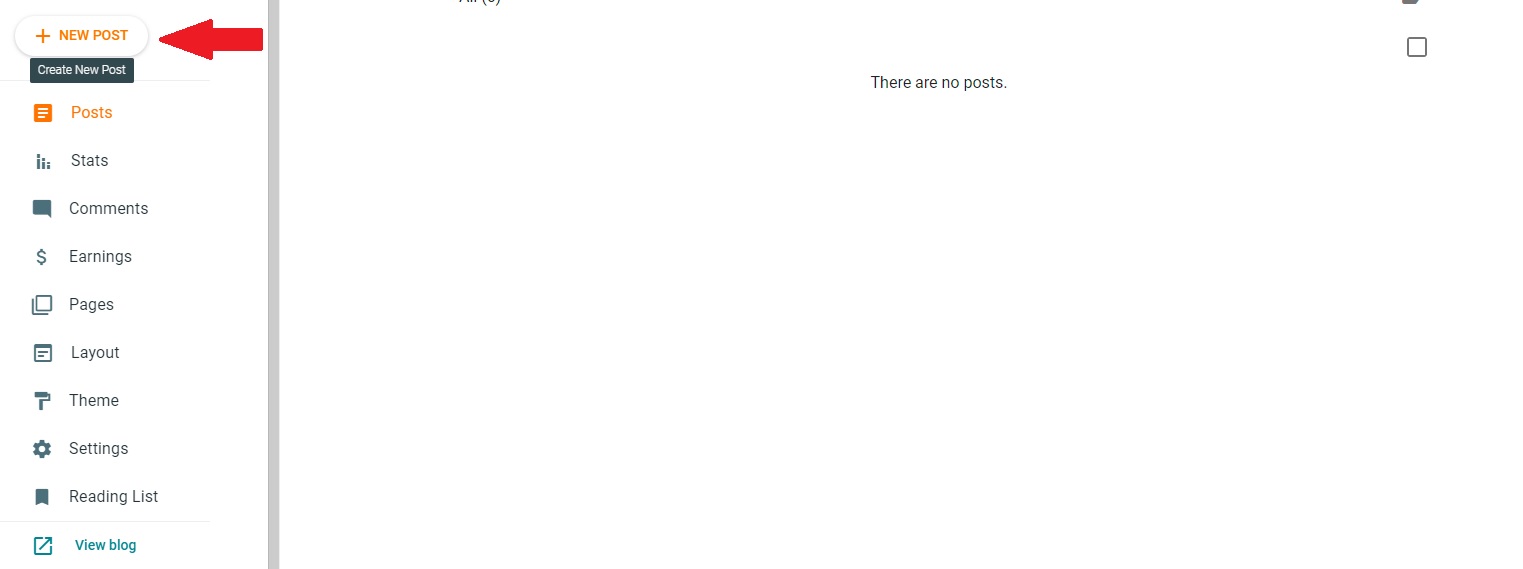
On this screen, you see above a line where we must put the title that this post will carry. In the main panel, we see a blank page, which is where the main content will go. On the right is a sidebar of tools.
In the example you see below, we have already set the title with a first level or H1 heading and a paragraph of text.
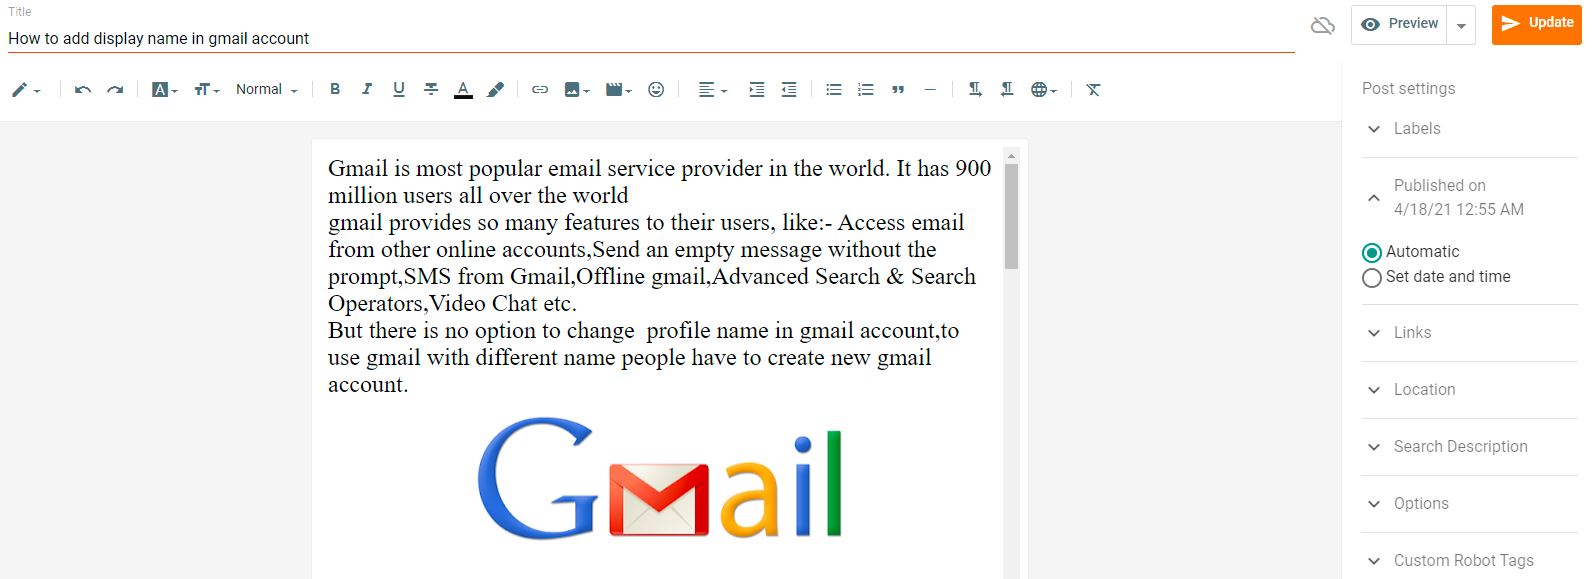
In the upper toolbar, we find, among other things, how to put some of the letters in bold, italic, or underlined. We also have the option to change the text of the paragraph or the heading size or font in the example you see below we have changed to Georgia font.
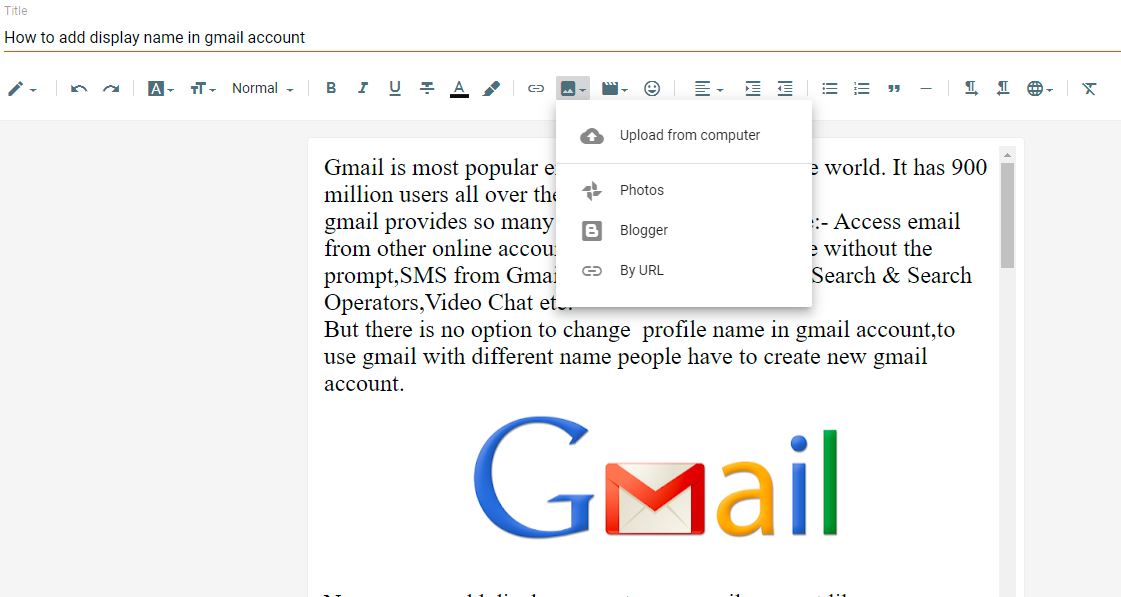
To attach a photo you have to click on the button you see in the example below. This will open a drop-down menu in which you will be able to choose from where you upload the image.
To save this post you have to go to the buttons on the top right. You will find two, the one for ” Preview “, which will show you how your post looks, and another is the one for ” Publish “. If you are sure that your work is the way you want it, click this button.
How to Make a Page on Blogger
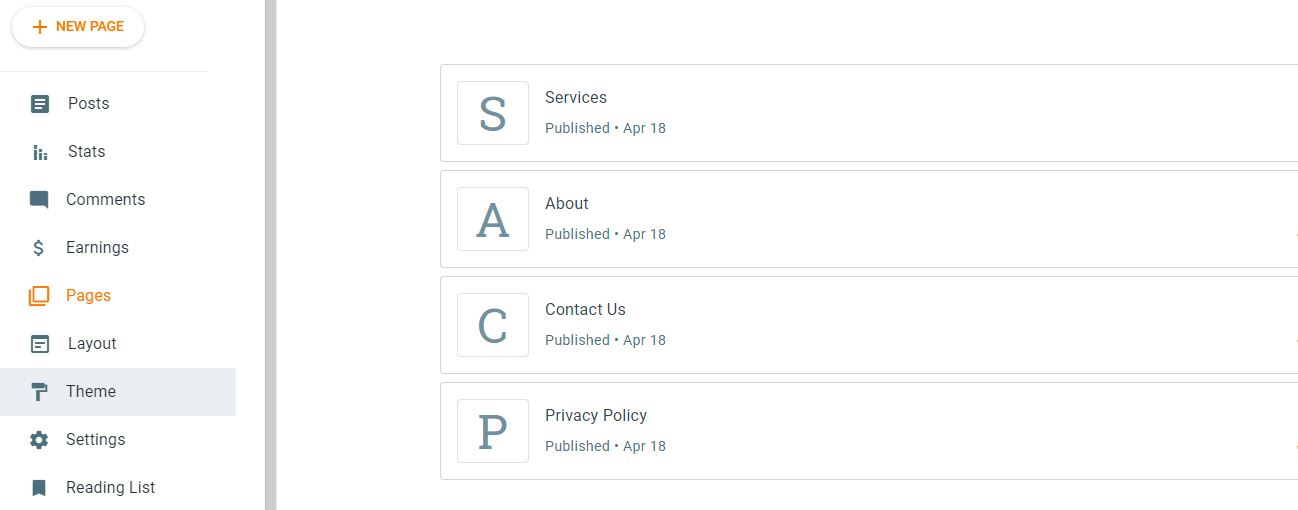
To create your first page you have to go to the side section and click on the ” Pages ” section.
Once inside you must click on the button on the top left that says ” New page”.
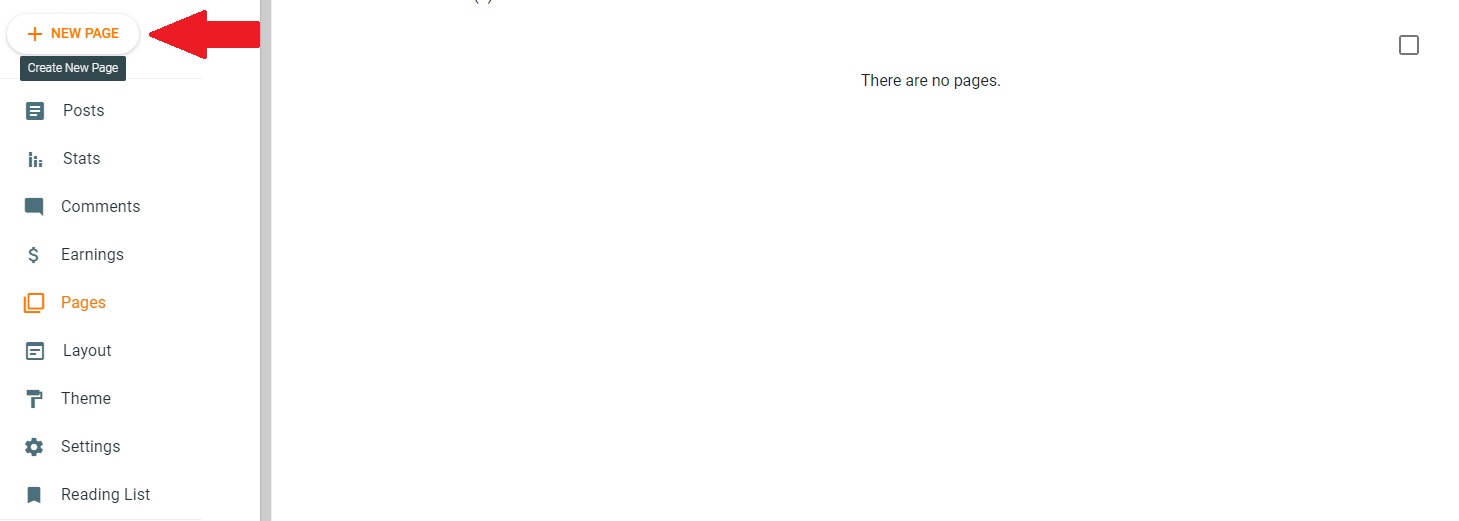
Surely it surprises you that it is the same interface as creating a new post, but it is much easier this way. To write the title of our page, go to the title section and write it.
To write the content of your page you should do it on the main screen, where we previously put the text of our post. To save it, click on the right button above where it says ” Publish “
You have to do this procedure with all the pages with which you want to structure your website. In this example, we have created the “ Home”, “Services”, “About me” and “ Contact” pages.
Customize Blogger as a Web Page: Layout the Structure
As you have seen before, there are two sections called ” Layout” and ” Theme “. Between these two you are going to create the appearance you want for your blog.
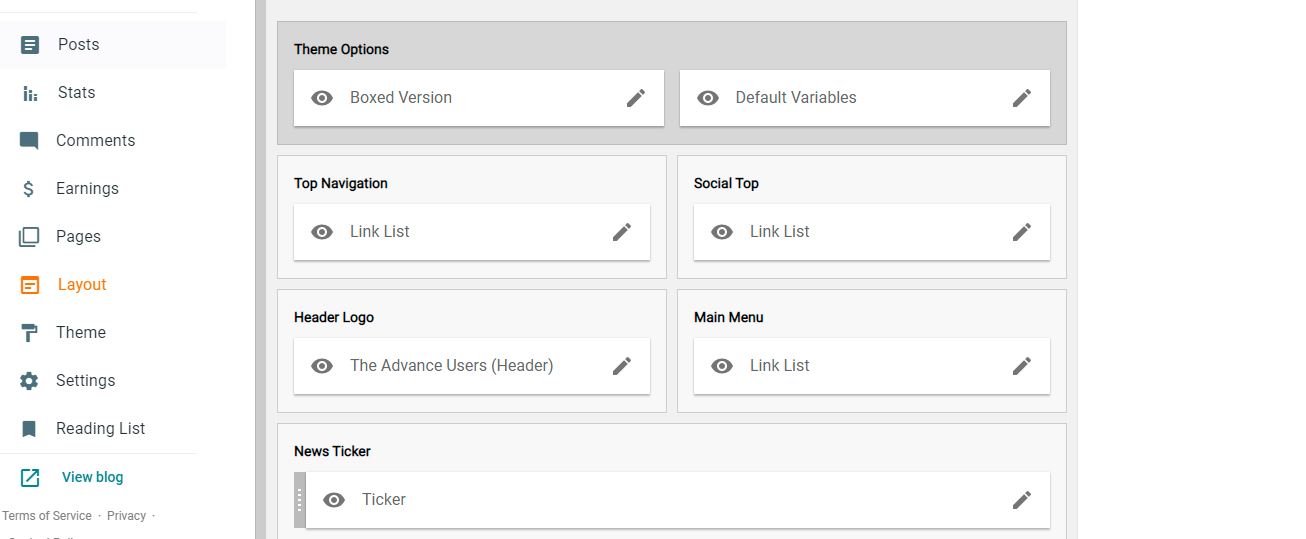
In the Layout section, the structure of your blog is built, customizing it to your liking. Inside it, you have the different sections that make up each page, such as the header, the sidebar, the title, or the central panel.
Also, within each section, you have the different gadgets, such as the Adsense ads, the contact form, the list of pages, etc.
In the Theme section, you can modify the appearance, such as the colors or the font you want for your blog. Blogger has themes already installed on the platform, which you can activate whenever you want.
Free Blogger Themes
Go to the ” Themes ” section, and you will see that there is already one by default, ” Contempo”. You can modify certain things by clicking ” Customize “.
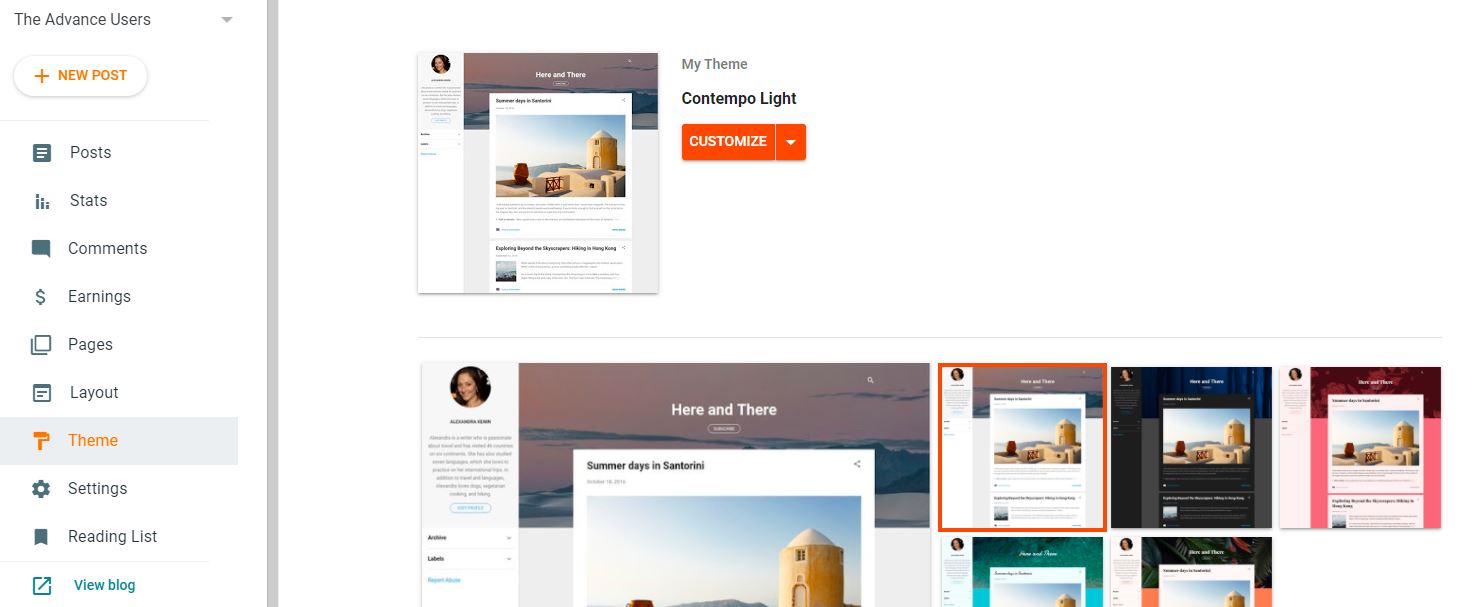
This will take you to a new window, where you can see how you can change the background image, the main color range, or a more advanced one such as the text font or its color; you have many options to customize it.
If you want to go, you can also switch to another one that Blogger has. Go back to the main screen and select the theme you like the most. Three buttons will appear at the bottom, preview, to see how it would look, the one to customize that we have already seen, and the one to apply. If you like how it looks, click Apply and you will have your theme already installed.
If none of the themes you have seen convinces you at all, you can download one from the internet.
Install and Edit Html From a Blogger Template
There are many pages where you will find different styles, but in the tutorial that you will find below I have used one, in particular, https://gooyaabitemplates.com/
Even if you see code, don’t panic, you don’t need any technical knowledge to perform this step.
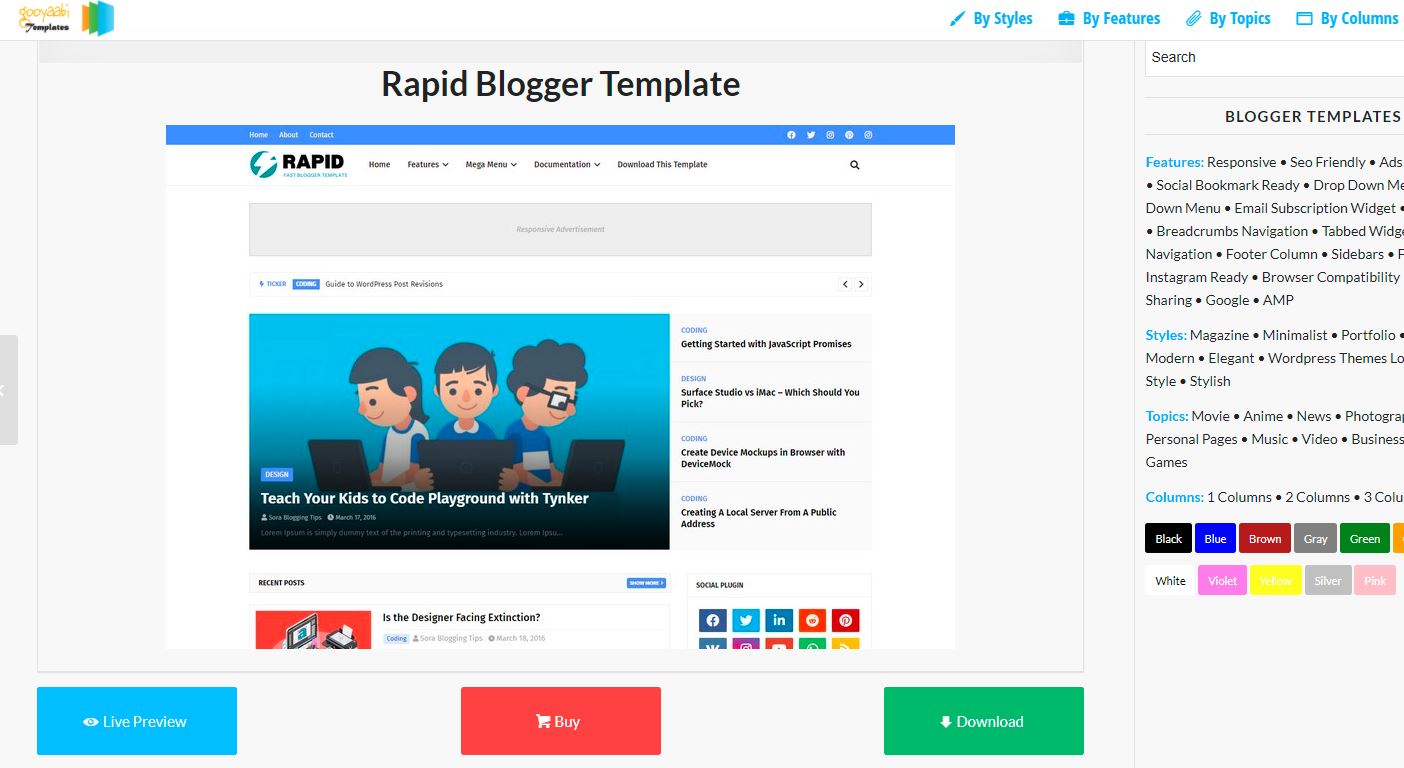
The first thing is to go to the page and select the topic that you like the most. In the example that we are going to do, it is the theme ” Rapid “.
You must access it and download it by clicking ” Download “, on the bottom right.
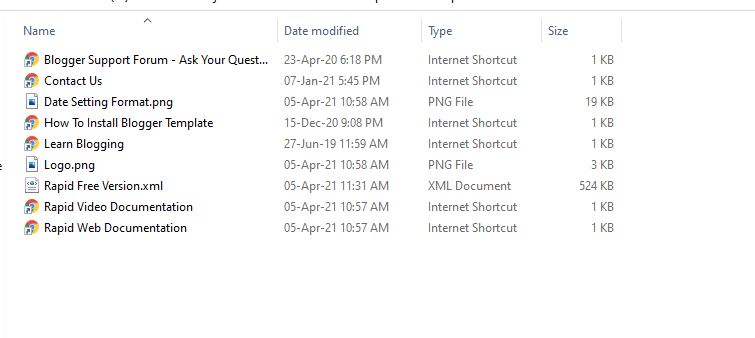
A compressed folder is downloaded. Open it and select the file ending in .xml
Now, in the Theme tab, click on the button with a down arrow, and several possibilities are displayed. Choose the ” Restore “.
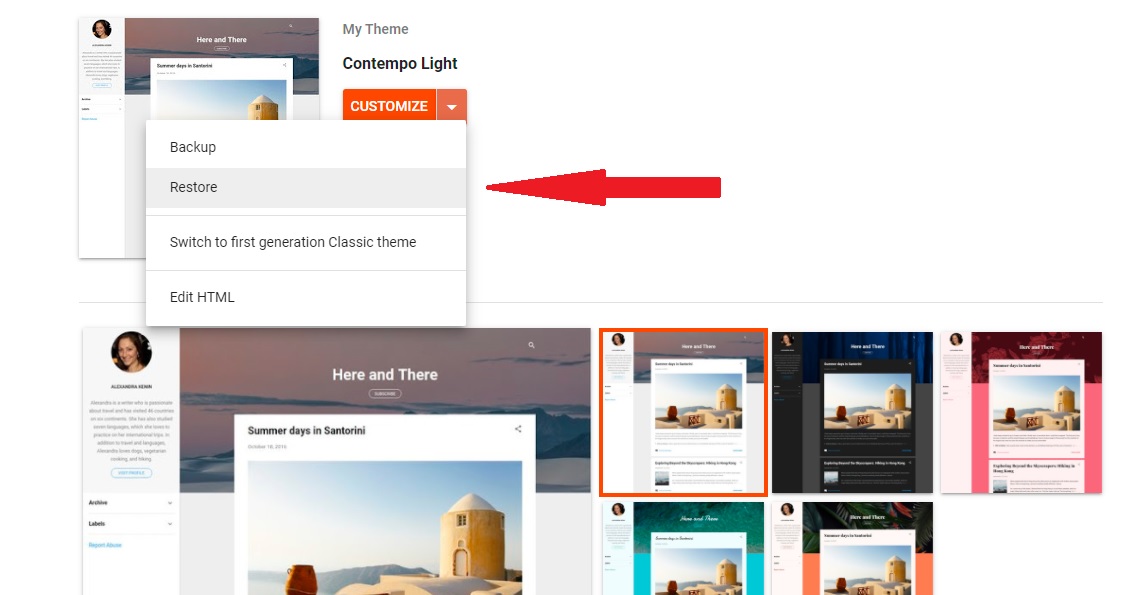
After that, a new pop-up will appear, and you have to upload the XML file in this.
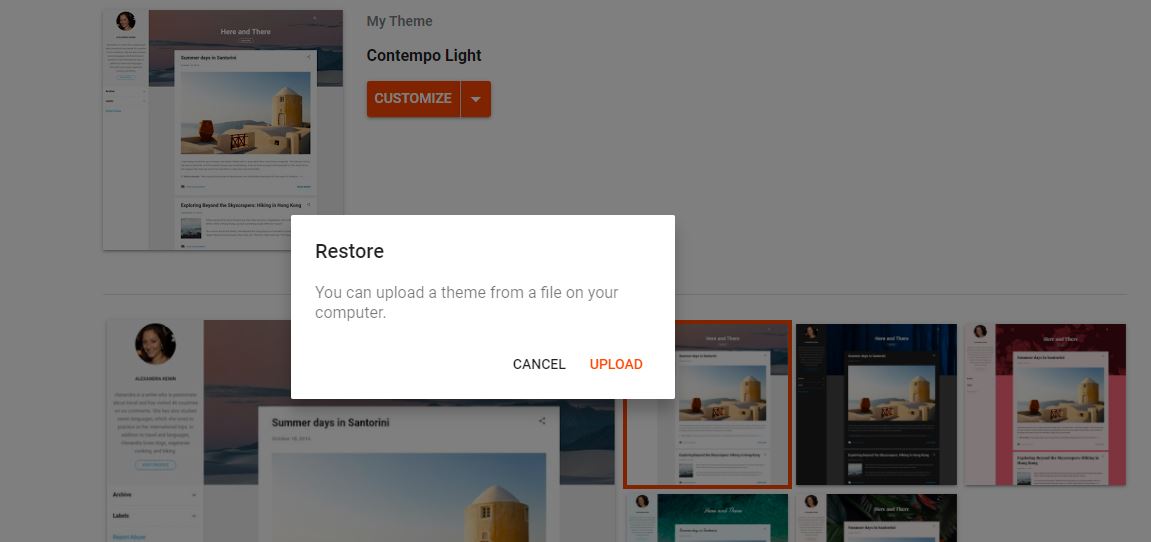
After uploading the new theme, you can check the blog by clicking view blog on the bottom left option.
To configure the site properly, you can find the documentation in the same zip file
Gadget Design for Blogger
Once you have the theme that you like the most, it’s time to customize the design. Each theme has a predetermined one, where it specifies the structure of that theme itself, how the different Blogger elements or gadgets are distributed. But you can modify the elements that are in each section.
Put a Contact Form in Blogger
To put the contact form, go to the section where you want it to be and click on ” Add a gadget “.
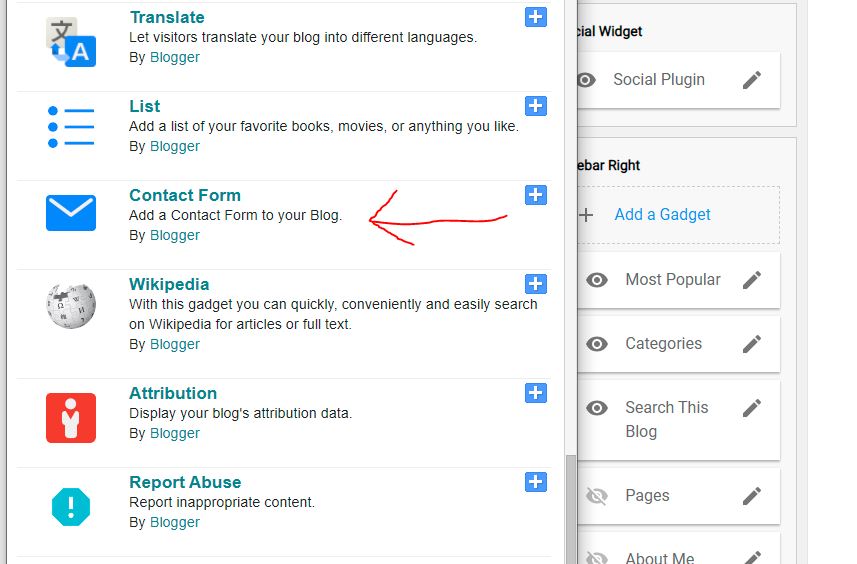
In the example that we are going to do, we are going to put it in the Sidebar. When you have clicked on ” Add Gadget ” a new tab will open with all available gadgets.
Search for ” Contact Form ” and to add it, click on the ” + ” button on the right, and it will be added immediately.
Blogger’s Limitations and How to Overcome Them
Although we have talked about the many advantages of using Blogger to create our blog, there are certain limitations that you should know before starting your project.
The personalization of the site with Blogger is very limited. Although we have seen how to download an HTML template from a website and install it on your blog, you will only be able to customize it as you want if you have programming code knowledge.

