various studies show that between 70% and 80% of consumers search for a business on the internet before visiting it in person or making a purchase. This means that having a website is as necessary as it is essential for any company looking to make itself known or increase its sales online.
Therefore, if you want to build a website for your business or company, this article is for you. Because you need to have one as soon as possible or you will be losing potential customers.
Fortunately, today, anyone can build and design a website without knowing anything about web development, design, or coding. Whether you want to create a personal or business website, you can easily do so using the right tools and resources.
But to alleviate any frustration you may be feeling, we have put together a comprehensive step-by-step guide on how to build a website.
- Choose your website platform
- The Hosting or hosting plan
- The domain name
- Choose a theme for the site
- Personalization
- Create site pages
- Write content
- SEO optimization
- Install plugins
Page Contents
1. Choose your website platform
The first thing you will need to decide is whether you want to create a website using a website builder (for example WIX) or a content management system (CMS). Both provide the out-of-the-box features, pre-built templates, and extensions needed to create a custom site without coding, but offer different experiences for creating and managing a website.
- Website Builder: Website Builders provide everything you need to launch a site: website builder tools, hosting, domain registration, SSL certification, templates, and support. All in one place and often for one low monthly fee. This ease of use appeals to many site owners, however, these platforms tend to have limited flexibility.
- Content management system: Instead, if you want more control over the functionality and appearance of your site, a CMS will provide the features, functionality, and customization options necessary to build larger and more complex sites.
Generally, a CMS is the best option for a business, as it will align with your needs and goals. For example, do you need a platform that supports multiple languages? Would you like to patent a CMS to protect your site or would you prefer an open-source CMS?
WordPress, for example, is a popular open-source CMS that provides thousands of themes, plugins, and customization modules. But this flexibility is not free. In return, you will have to spend more time and money downloading, installing, and maintaining some of its additional extensions.
This manual will take this route. So, once you have chosen the best CMS platform for your needs, proceed to step two.
However, we recommend that you review this article on the best free website builders.
2. The Hosting or hosting plan
Web hosting or Hosting is a service that allows people or companies to run a website on the Internet.
The service provider, known as a Web Server, will store your website files on a secure server, and then deliver and display that web content to visitors who type your site URL into their browser.
The steps to select a hosting provider vary depending on the type of web platform on which you decide to design your site. If you opted for an open-source solution, you will have to find your own hosting provider. There are hundreds of web servers on the market and each one can offer different types of hosting:
- Shared hosting: It is the most popular type of accommodation and the cheapest option. But since your website has to share the same server with many other websites, it could be more vulnerable to different security threats.
- VPS Hosting: This is a more expensive alternative because it specifically isolates the server resources for your site. If you prefer not to share a server with any other website, this is your best option.
Regardless of the web hosting company you decide to work with, make sure it has the following characteristics:
- FREE domain name with SSL (for security).
- One-click install for WordPress (free).
- Custom email accounts
- Unlimited or unmetered bandwidth (no traffic limitations).
- Customer support, preferably live chat 24/7
3. The domain name
The domain name is the name and address of your website. Visitors use that address when they try to find you through search engines like Google.
Imagine that your company is called “my flower shop”. One of the first things you will have to define is the name of the website, which could be: pizzalaredonda.com. This will give your website more prestige and assurance to your clients that they are trading with a real, serious and professional company.
Some website builders, like Weebly, offer a free subdomain for your site. A subdomain is a domain attached to the main website. An example of a subdomain would be, for example, http://myflowershop.weebly.com, as opposed to the domain http://myflowershop.com
If you were a client, which pages would you trust the most? In myflowershop.com or myflowershop.freedomain.com? The vast majority will opt for the first option. An extension like the second can confuse visitors and dilute your brand identity.
Buying a domain name is usually inexpensive. There are two different paths:
- You can go to the site where you are going to buy the domain, register it there and then connect it to your Hosting account.
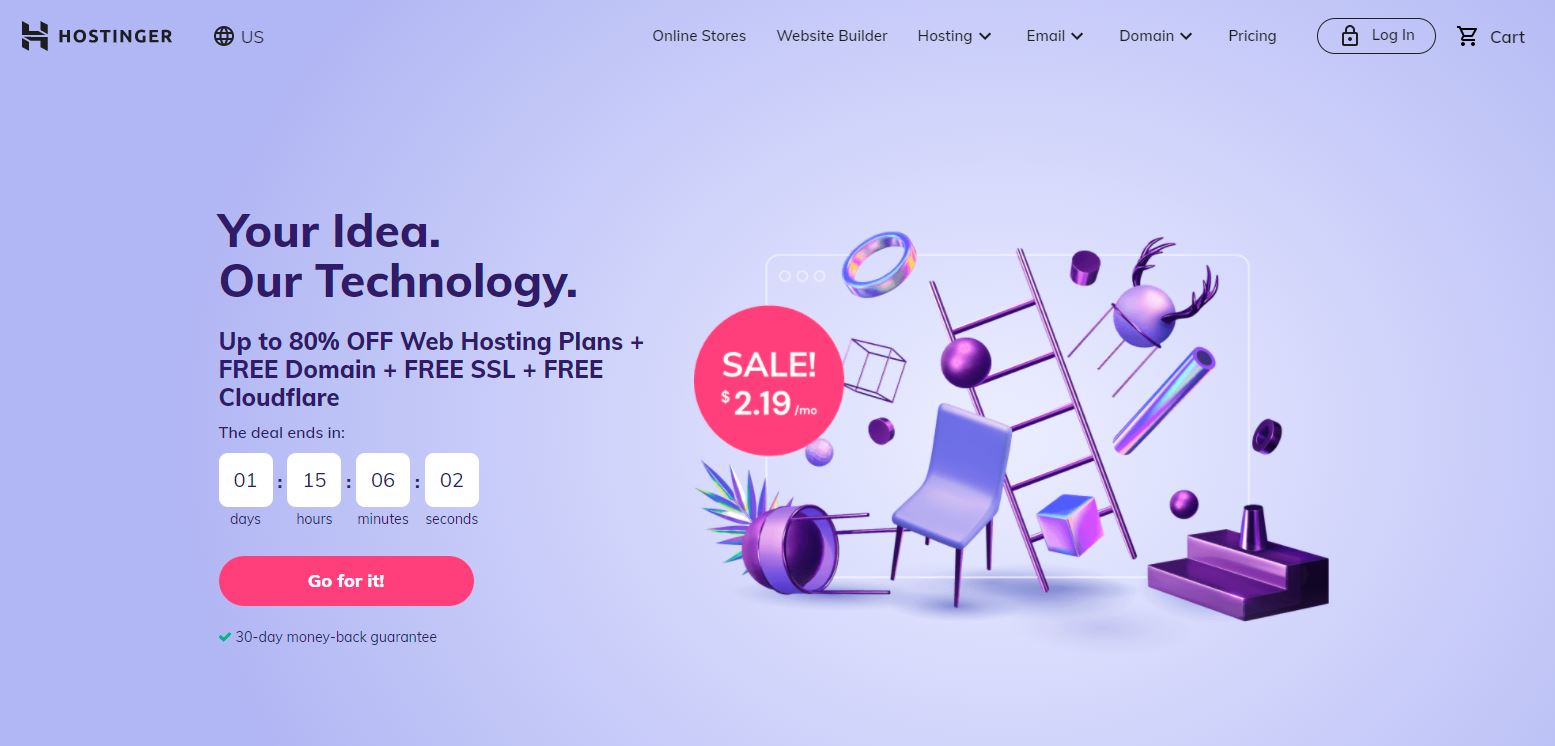
- Or you can complete the entire domain name search and registration process on your hosting provider’s site. For example, after signing up for a Hostinger plan, you will be redirected to the page to register a domain name.

- You will have to choose a domain name as similar as possible to the name of your company. If the ideal domain name is already in use, consider using a different extension. Play around with it. Once you’ve chosen and paid for a domain name, you will generally have personal email accounts attached as well, so be sure to use your domain name as your primary online identity.
4. Choose a Theme for the site
Now comes the fun part.

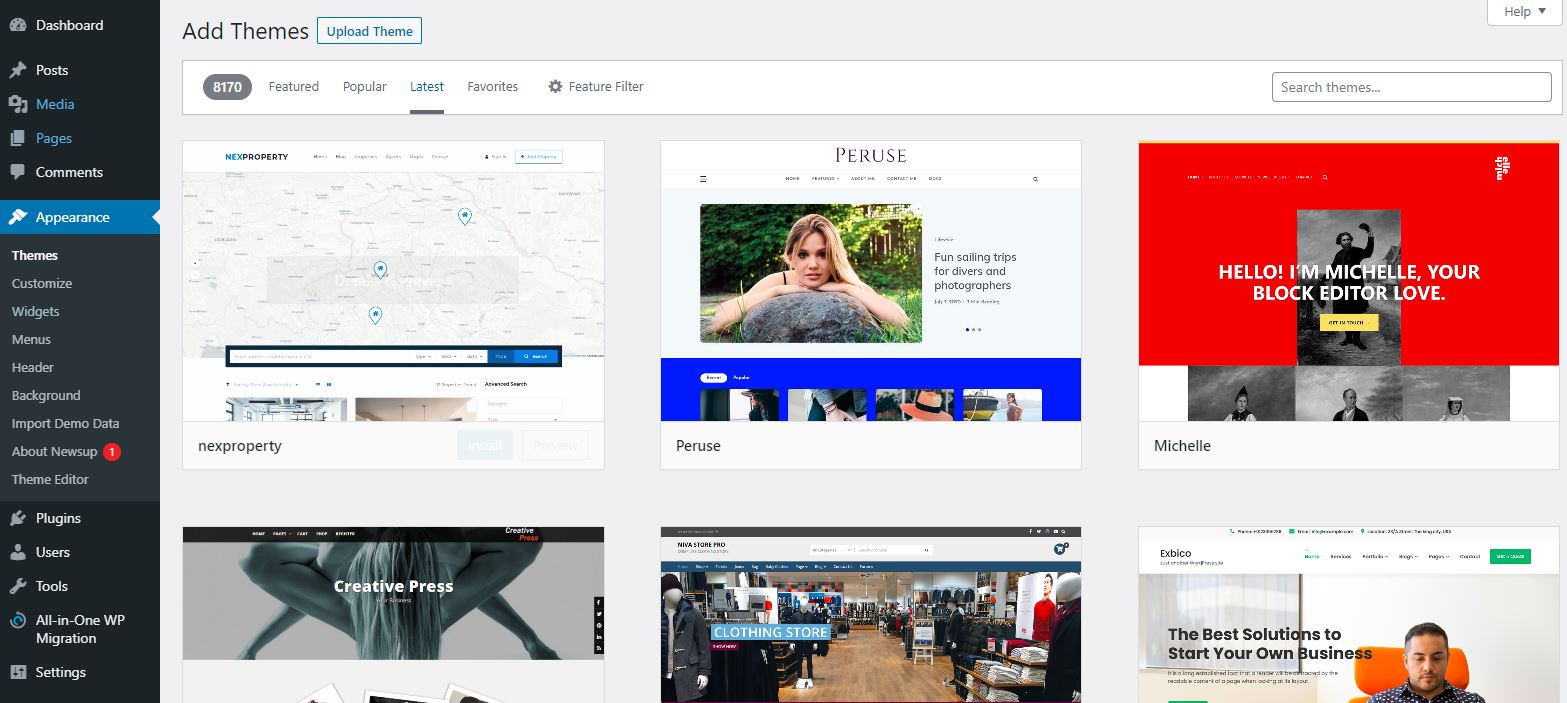
WordPress themes are ready-made design packages, which change the appearance of the entire website. Each Theme is made up of templates, modules, images, and general content, which control the overall design of your site.
There are some must-have features that every theme should have.
- Make it responsive, to be viewed from mobile devices.
- Easy-to-read fonts or typefaces.
- Appropriate backgrounds, which do not distract or confuse the user.
- The Header or header.
Ultimately, you are the one who knows your website best, therefore, after a review of the Themes, you will know which one will best represent your brand and be more attractive to your target audience.
If you can’t find a free theme that meets your exact specifications, try searching for Premium Themes within the same platform, such as WordPress, or on other pages that are dedicated to designing and marketing Website Themes.
Once you have selected and installed a Theme on your site, proceed to the next step.
5. Personalization
Once you have chosen a Theme, you have to customize it.
This customization will influence both the design and usability of the site, therefore, the ability to persuade users to decide to stay on our site.
Depending on the website platform you used to build your site, you will have varying degrees of control over the appearance of your site. In most you can:
- Change the color palette.
- Replace the images.
- Insert social media icons.
- Create custom forms and menus.
- Change font size and color.
6. Create site pages
Pages are the essence of your website. It’s hard to imagine a website without pages, right?
From a technical point of view, a web page is just a document on the web. It is not much different from a traditional Word document. Web pages are easy to create in WordPress. But first, let’s discuss which pages you should create first.
- Homepage: It is the first page that your visitors see when they enter your site.
- About or Who We Are Page: A page that explains what your website or company is about.
- Contact page: Allow visitors to contact your company. Do not forget to include all the data: landline, cell phone, WhatsApp, mail, etc.
- Blog: If you are not planning to blog, you can use the blog page as a place for company news and announcements.
- Products or services page: If the website you are creating is for a business, use this page to show what you have to offer.
- Online-store: For companies that want to launch an e-commerce store. In the case of sites created in WordPress, it is necessary to incorporate the WooCommerce plugin, which is the tool that allows you to create the online store.
Many of the previous pages will be very similar in structure, the only difference being the content of the actual page. Basically, once you learn how to create one page, you will know how to create them all.
Once you’ve decided which pages you need on your site, be sure to add them to the Navigation Menu, so users can find them.
To facilitate this process, it is advisable to do a study of several other company sites, to get ideas on how to organize the navigation or which pages to include and exclude, if you are not sure.
7. Write content
This is possibly the most important step. Now that you have your pages set up, what will you put on them?
Here are some suggestions to make this step easier:
- Write a draft of the content of each page.
- Discuss with co-workers what is the message you want to convey.
- What tone do you want to set? Close, serious, humour.
- What questions will your users ask themselves when entering the site?
During this stage, it is essential that you research the keywords for which you want to position your site. For example, if you are selling glasses and you notice that “vintage glasses” have a higher monthly search volume than “classic glasses”, you will be able to direct users to that particular content.
8. SEO optimization
Once you have included all the content in the pages of your website, there will still be a very important step to increase the visibility of the site in Google search results: SEO optimization for each page, which you should consider:
- Page Titles
- Headers
- Meta descriptions
- Image Alternative Text (Alt Tag)
- Page URL
- Internal links
- Responsive Site
- Site loading speed
Each of these elements is essential for SEO on each web page of the site. Not only do they help tell Google about your website, but they also provide value to visitors and customers and help improve your web positioning.
Whatever platform you are using to build your site should make it easy to optimize these elements. WordPress has very simple extensions in which you can quickly configure each of these elements.
9. Install plugins
A plugin is a program that adds specific features or functions to your website. Depending on the platform, they are also known as applications, extensions, modules, plugins, or integrations.

Some of the most used add-ons are for:
- Protect customer data.
- SEO web positioning.
- Image compression.
- Social Media Buttons
- Forms.
- Image carousel.
- Newsletter subscription.
A large number of plugins are totally free. Those that do not are considered premium add-ons that are purchased only once or require a monthly or annual subscription.
In WordPress, there are many free plugins that are available. Without a doubt, we recommend those that allow you to optimize your website to improve its web positioning.
The last step
Everything we have seen in this article should be enough for you to discover how to create a basic website for your business, but the truth is there are many more options available that you can explore to improve and adjust the appearance and usability of the page.
Creating a website can be daunting for someone who has not had experience in this area. But we hope this guide helps you do it quickly, effectively, and without the need for a web developer.
If you’ve followed all the steps, you probably now have a website. And if you have questions, do not hesitate to contact us to help you solve them.

